Safeguard Your Roof: A Guide to Safe Inspection for Slipped Tiles
Introduction: Regular roof maintenance is essential for preserving the integrity and longevity of your home’s roofing system. One critical aspect of maintenance is inspecting for slipped or displaced roof tiles, which can compromise the effectiveness of your roof and lead to potential water damage. This blog post will discuss how homeowners can safely inspect their roofs for slipped tiles, ensuring early detection and timely repairs to protect their property.
- Choose the Right Time and Conditions:
- Schedule your roof inspection during daylight hours in dry weather conditions. Avoid inspecting the roof during inclement weather or when wet or slippery surfaces to minimise the risk of accidents or falls.
- Use Proper Safety Equipment:
- Before ascending onto your roof, ensure you have the necessary safety equipment, including a sturdy ladder, safety harness, nonslip footwear, and gloves. Safety should always be the top priority when working at heights.
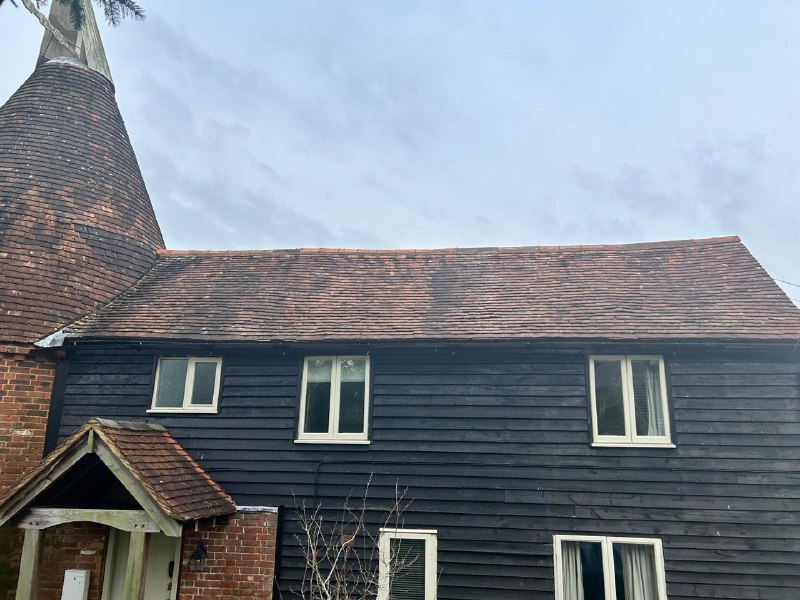
- Conduct Visual Inspection from Ground Level:
- Start by visually inspecting your roof from ground level using binoculars or a camera with zoom capabilities. Scan the roof surface for any signs of missing, cracked, or displaced tiles, focusing on areas where tiles are most susceptible to displacement, such as valleys, ridges, and eaves.
- Inspect Roof Edges and Gutters:
- Check the edges of your roof and gutters for debris or signs of fallen tiles. Slipped tiles may accumulate along roof edges or gutter lines, indicating potential areas of concern that require closer inspection.
- Safely Access the Roof:
- If your visual inspection reveals areas of concern, carefully access the roof using a secure ladder placed on stable ground. Ascend the ladder slowly and deliberately, maintaining three points of contact at all times.
- Walk-on Stable Roof Sections:
- Once on the roof, walk only on stable and structurally sound sections, avoiding areas with obvious signs of damage or deterioration. Distribute your weight evenly and tread lightly to minimise stress on the roofing materials.
- Check Tile Alignment and Integrity:
- Inspect each row of tiles for proper alignment and integrity, paying attention to any tiles that appear loose, lifted, or displaced. Gently tap on tiles with a small mallet to test their stability and adherence to the underlying substrate.
- Document and Note Findings:
- Document any findings or observations during your roof inspection, including the location and extent of slipped tiles and any other issues or concerns you identify. Take photographs or make notes to reference during repair or maintenance efforts.
- Schedule Professional Inspection and Repair:
- If you’re unsure about inspecting your roof or encounter significant issues during your inspection, consider hiring a professional roofing contractor, such as LPO Roofing Kempston, to conduct a thorough assessment and perform any necessary repairs or maintenance tasks.
Conclusion: Safely inspecting your roof for slipped tiles is a crucial part of home maintenance that helps protect your property from water damage and structural issues. By following these safety guidelines and conducting a thorough inspection, homeowners can detect slipped tiles early and address them promptly to maintain the integrity and longevity of their roofing systems.
Call us on: 01234 676 690
Click here to find out more about LPO Roofing Kempston
Click here to complete our contact form and see how we can help with your roofing needs.